Internally geared hubs can be pretty scary for the uninitiated work on -- there are a lot of parts -- but the Raleigh Sports had been far too neglected for far too long to avoid opening up the three-speed hub and rebuilding it.
If you ever cracked open a coaster brake hub as a kid, it's a bit like that, only about a hundred times more complex. Still, it's totally doable for the home repairman. The key is to take your time, take lots of notes (and lots of pictures) and be very careful to not lose any small fiddly bits.
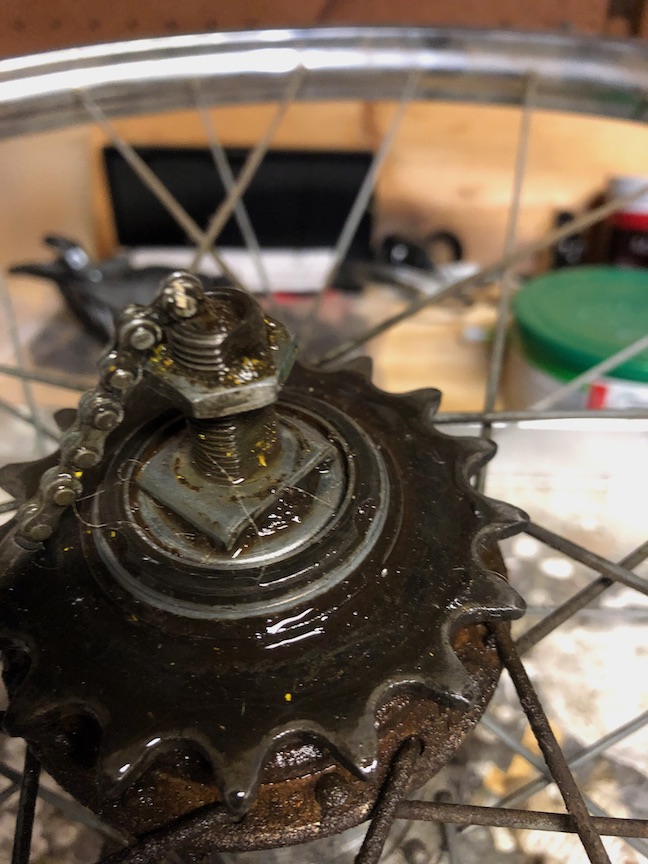
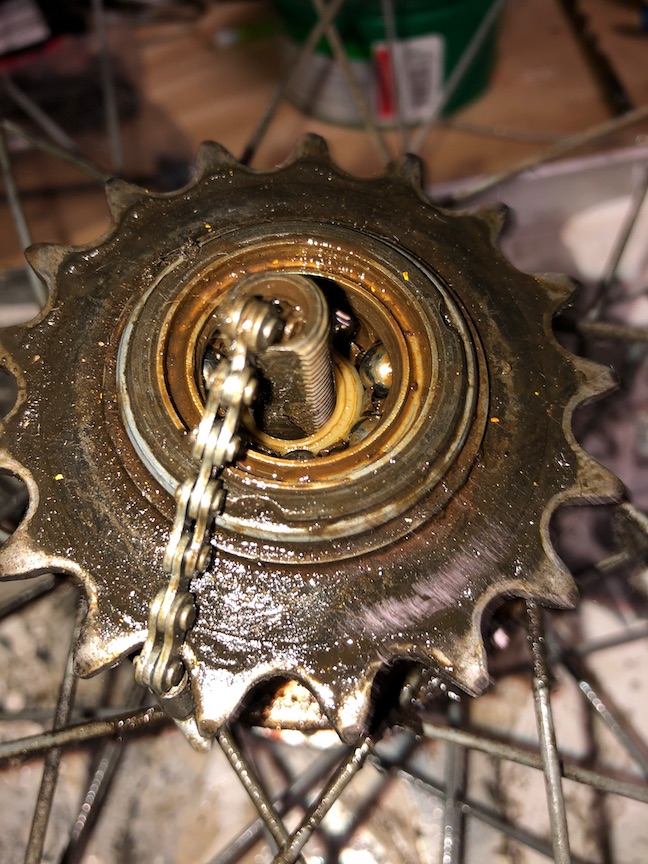
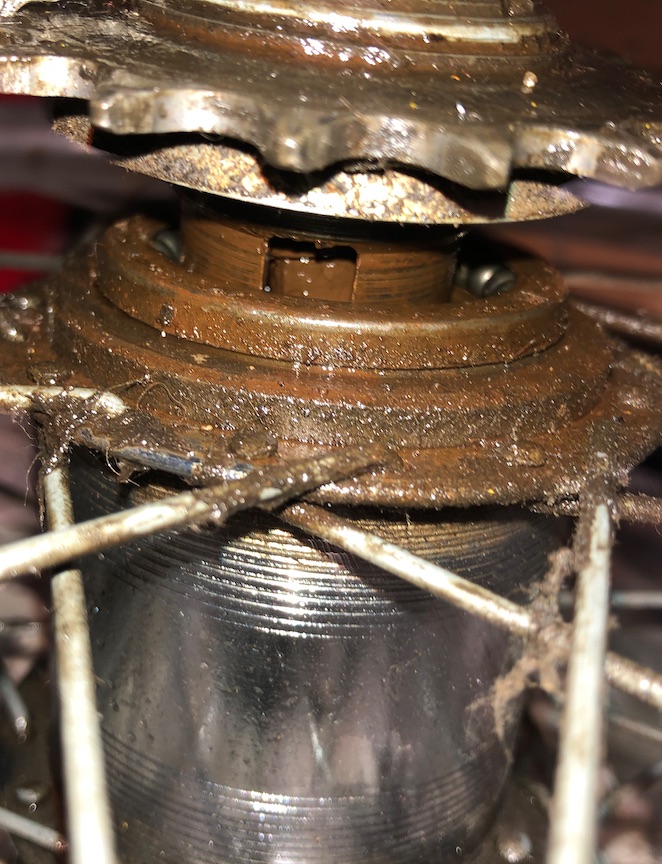
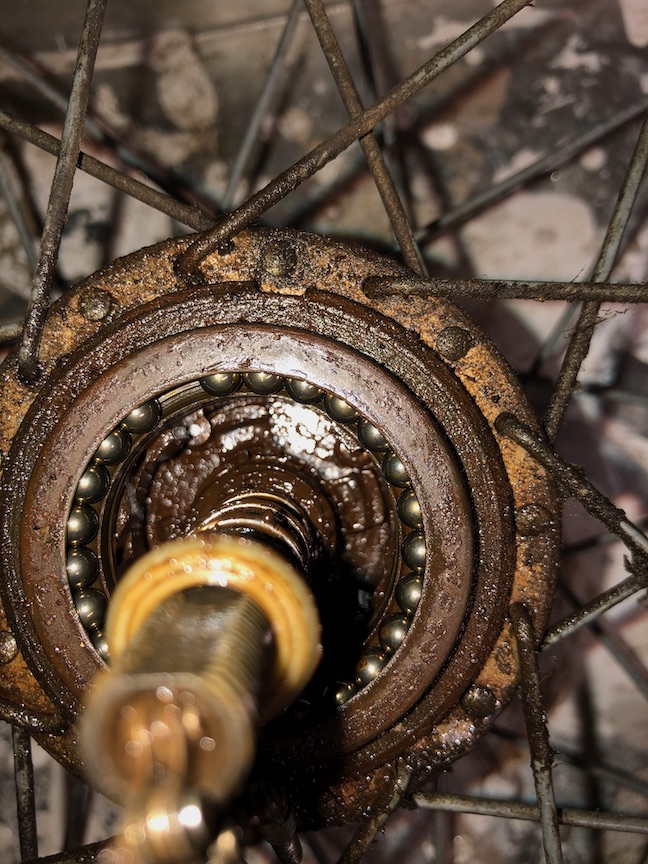
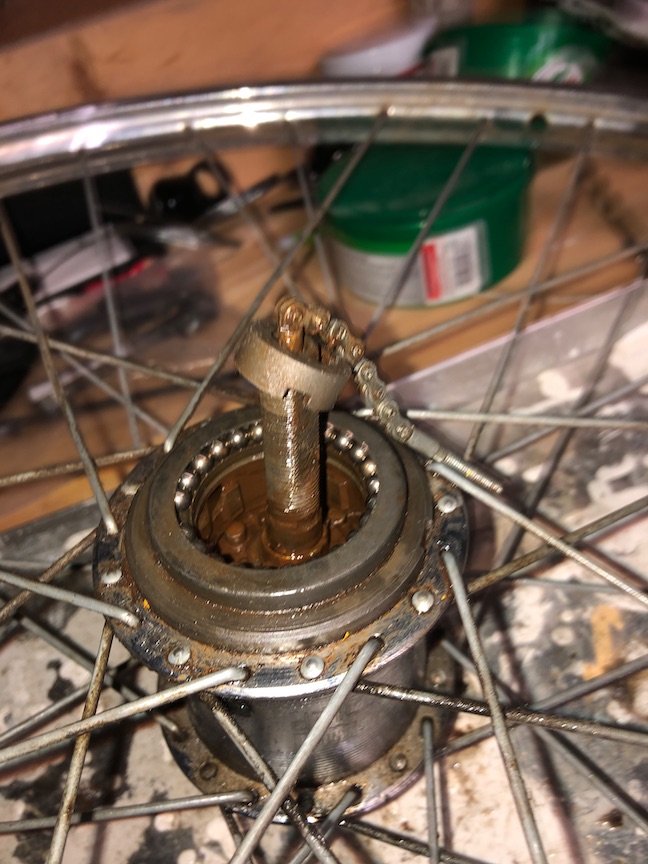
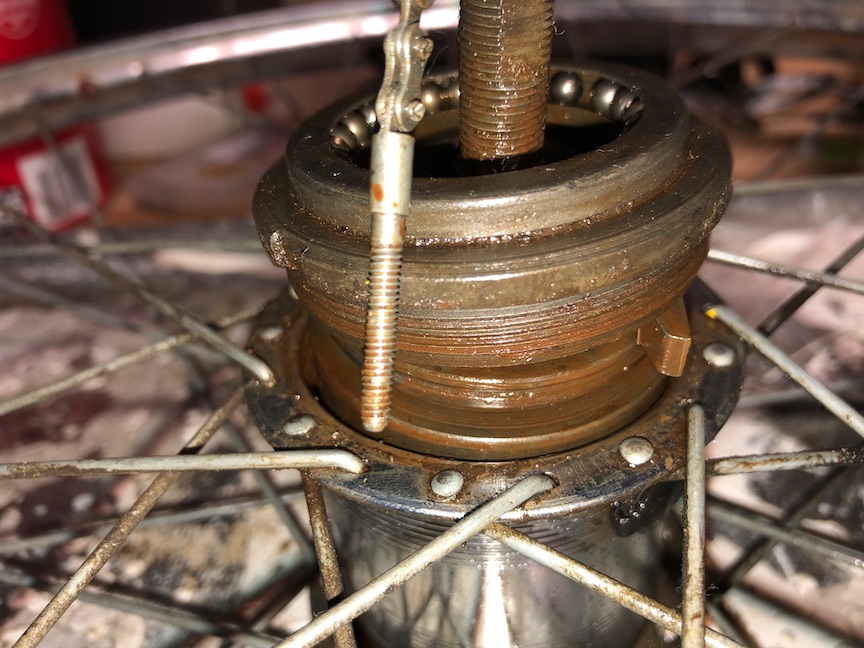
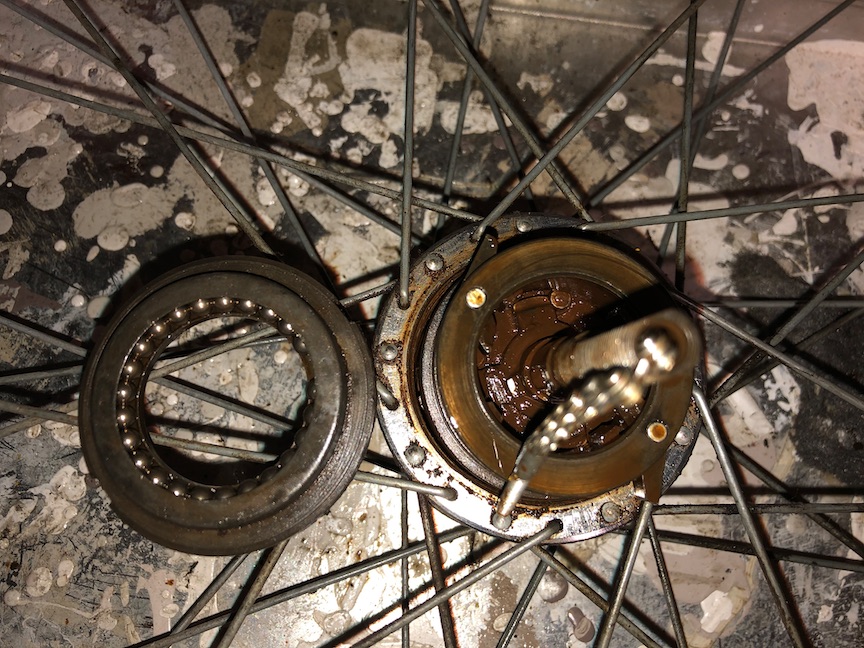
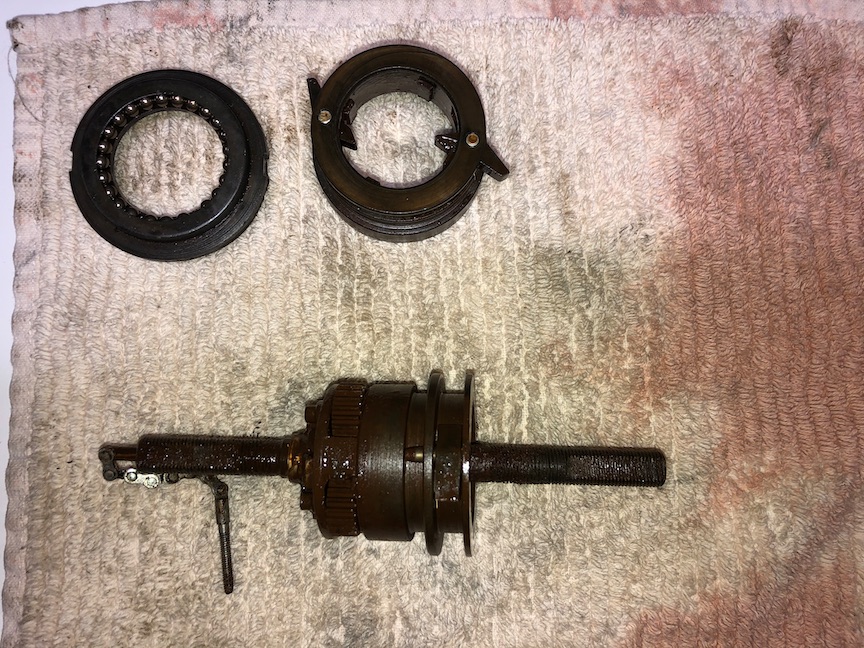
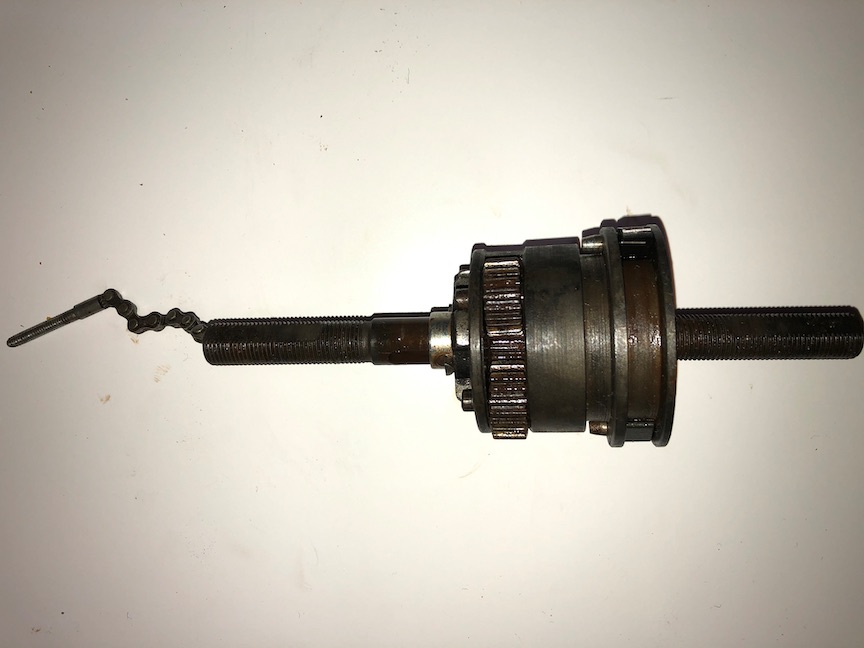
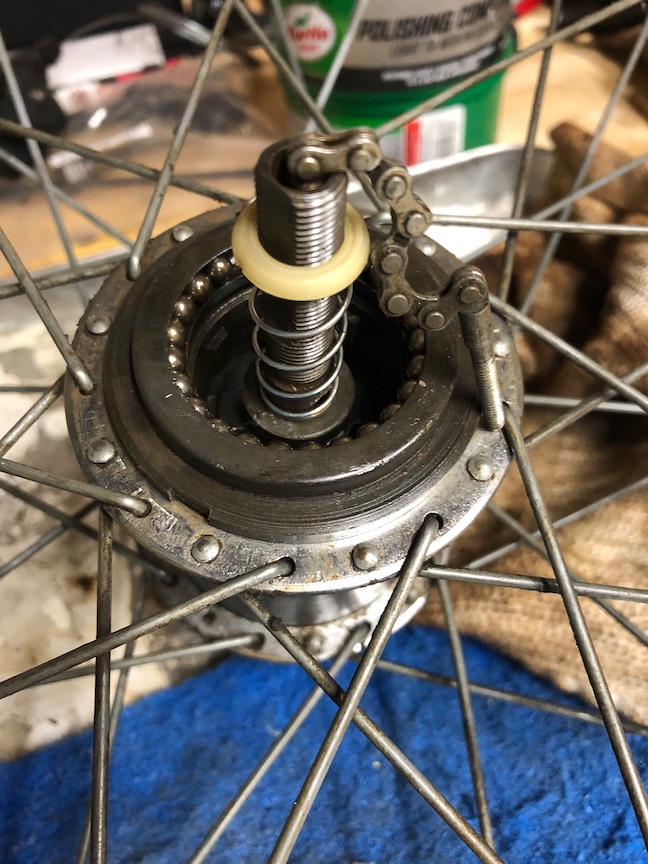
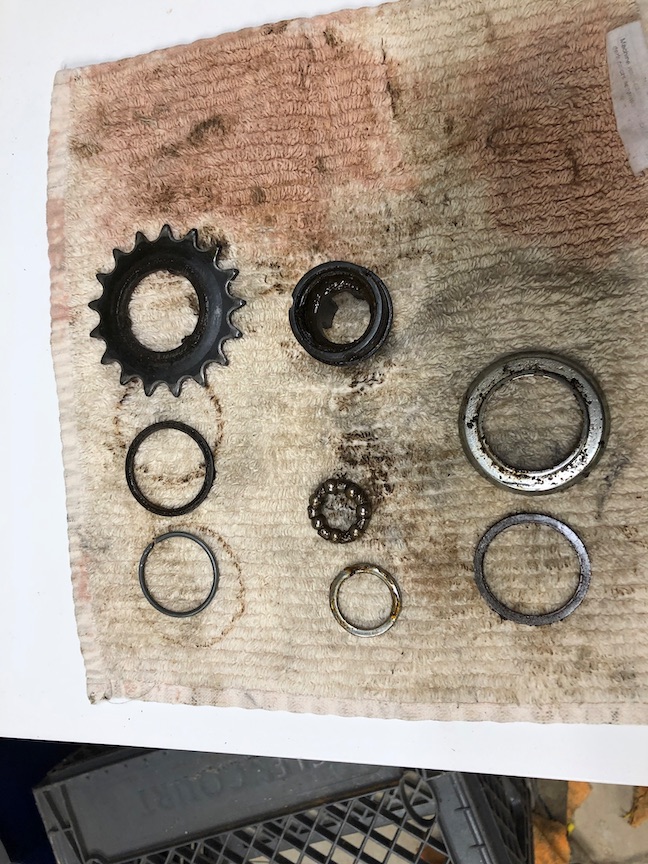
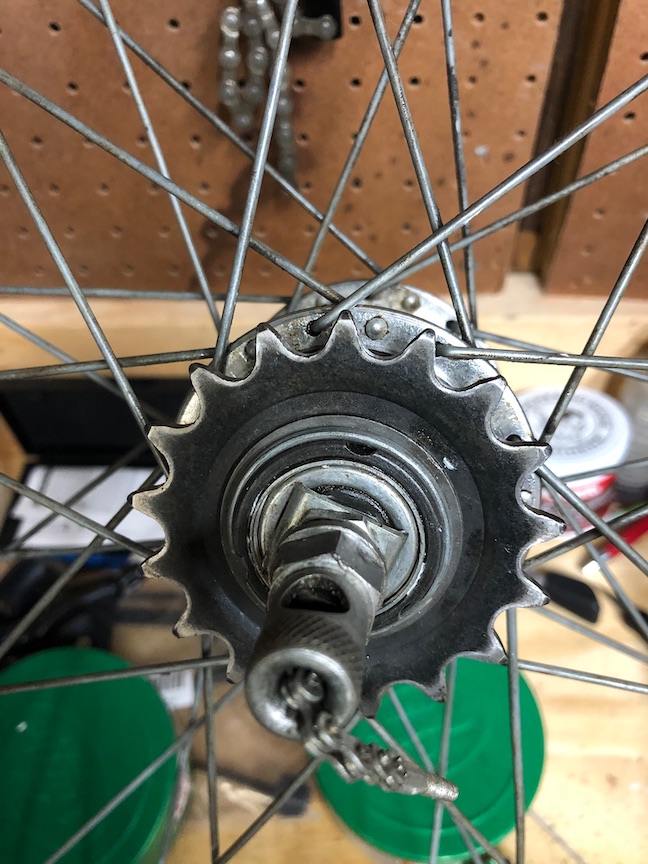
I took photos with each nut, washer and assembly, so I was sure how it had all fit before. This is the sprocket-side at step 3, with the outer nut and washer already removed.With the lock washer, cone and dust shield removed, we get our first glance at some pretty gunky bearings.Next you can pull the sprocket assembly as one piece, after removing the c-clip. The sprocket assembly itself will get dismantled later.With the sprocket assembly removed, we see the nylon washer, spring, and more gunk.Then we can remove this piece, which sits below the spring and acts as a sort of clutch against the gear assembly.And now we can get a better look at the gear assembly in there.We can now open the hub fully, using the highly sophisticated 'hammer whacking on a screwdriver in the lockring slot cause we do not own the proper tool' method. If you haven't done it already, this is a good time to remove the non-drive-side cone and bearings. That's pretty straightforward.The gear assembly will now slide right out. Be careful to not let any of the pawl pins slip out, or you'll have hours of fun trying to get the spring-loaded pawls back in correctly. The pawl pins are the silver dots you see on the top of the gear assembly. They're holding the gear pawls in place.The gear assembly, removed for cleaning. You can see the pawls much more clearly. Again, be very cautious about small parts coming out.I don't try to remove the gear assembly from the axle, and instead just give it a thorough cleaning.With each piece cleaned well, reassembly is, as they say, the reverse of disassembly. Here, the gear assembly, clutch, spring, nylon washer and hub end are all back in place.The sprocket assembly disassembled for cleaning and laid out in the order it should go back together. It's critically important to keep track of the order and orientation of each small piece.And finally, the cleaned and re-lubed sprocket assembly re-installed. With that done (and the non-drive side bearings re-lubed and replaced, we just add some 30-weight old and we're done.
Note: This post may contain affiliate links and we may receive a small commission for purchases made through these links. This does not cost you anything, nor does it affect our opinion of the products.