Raleigh reassembly

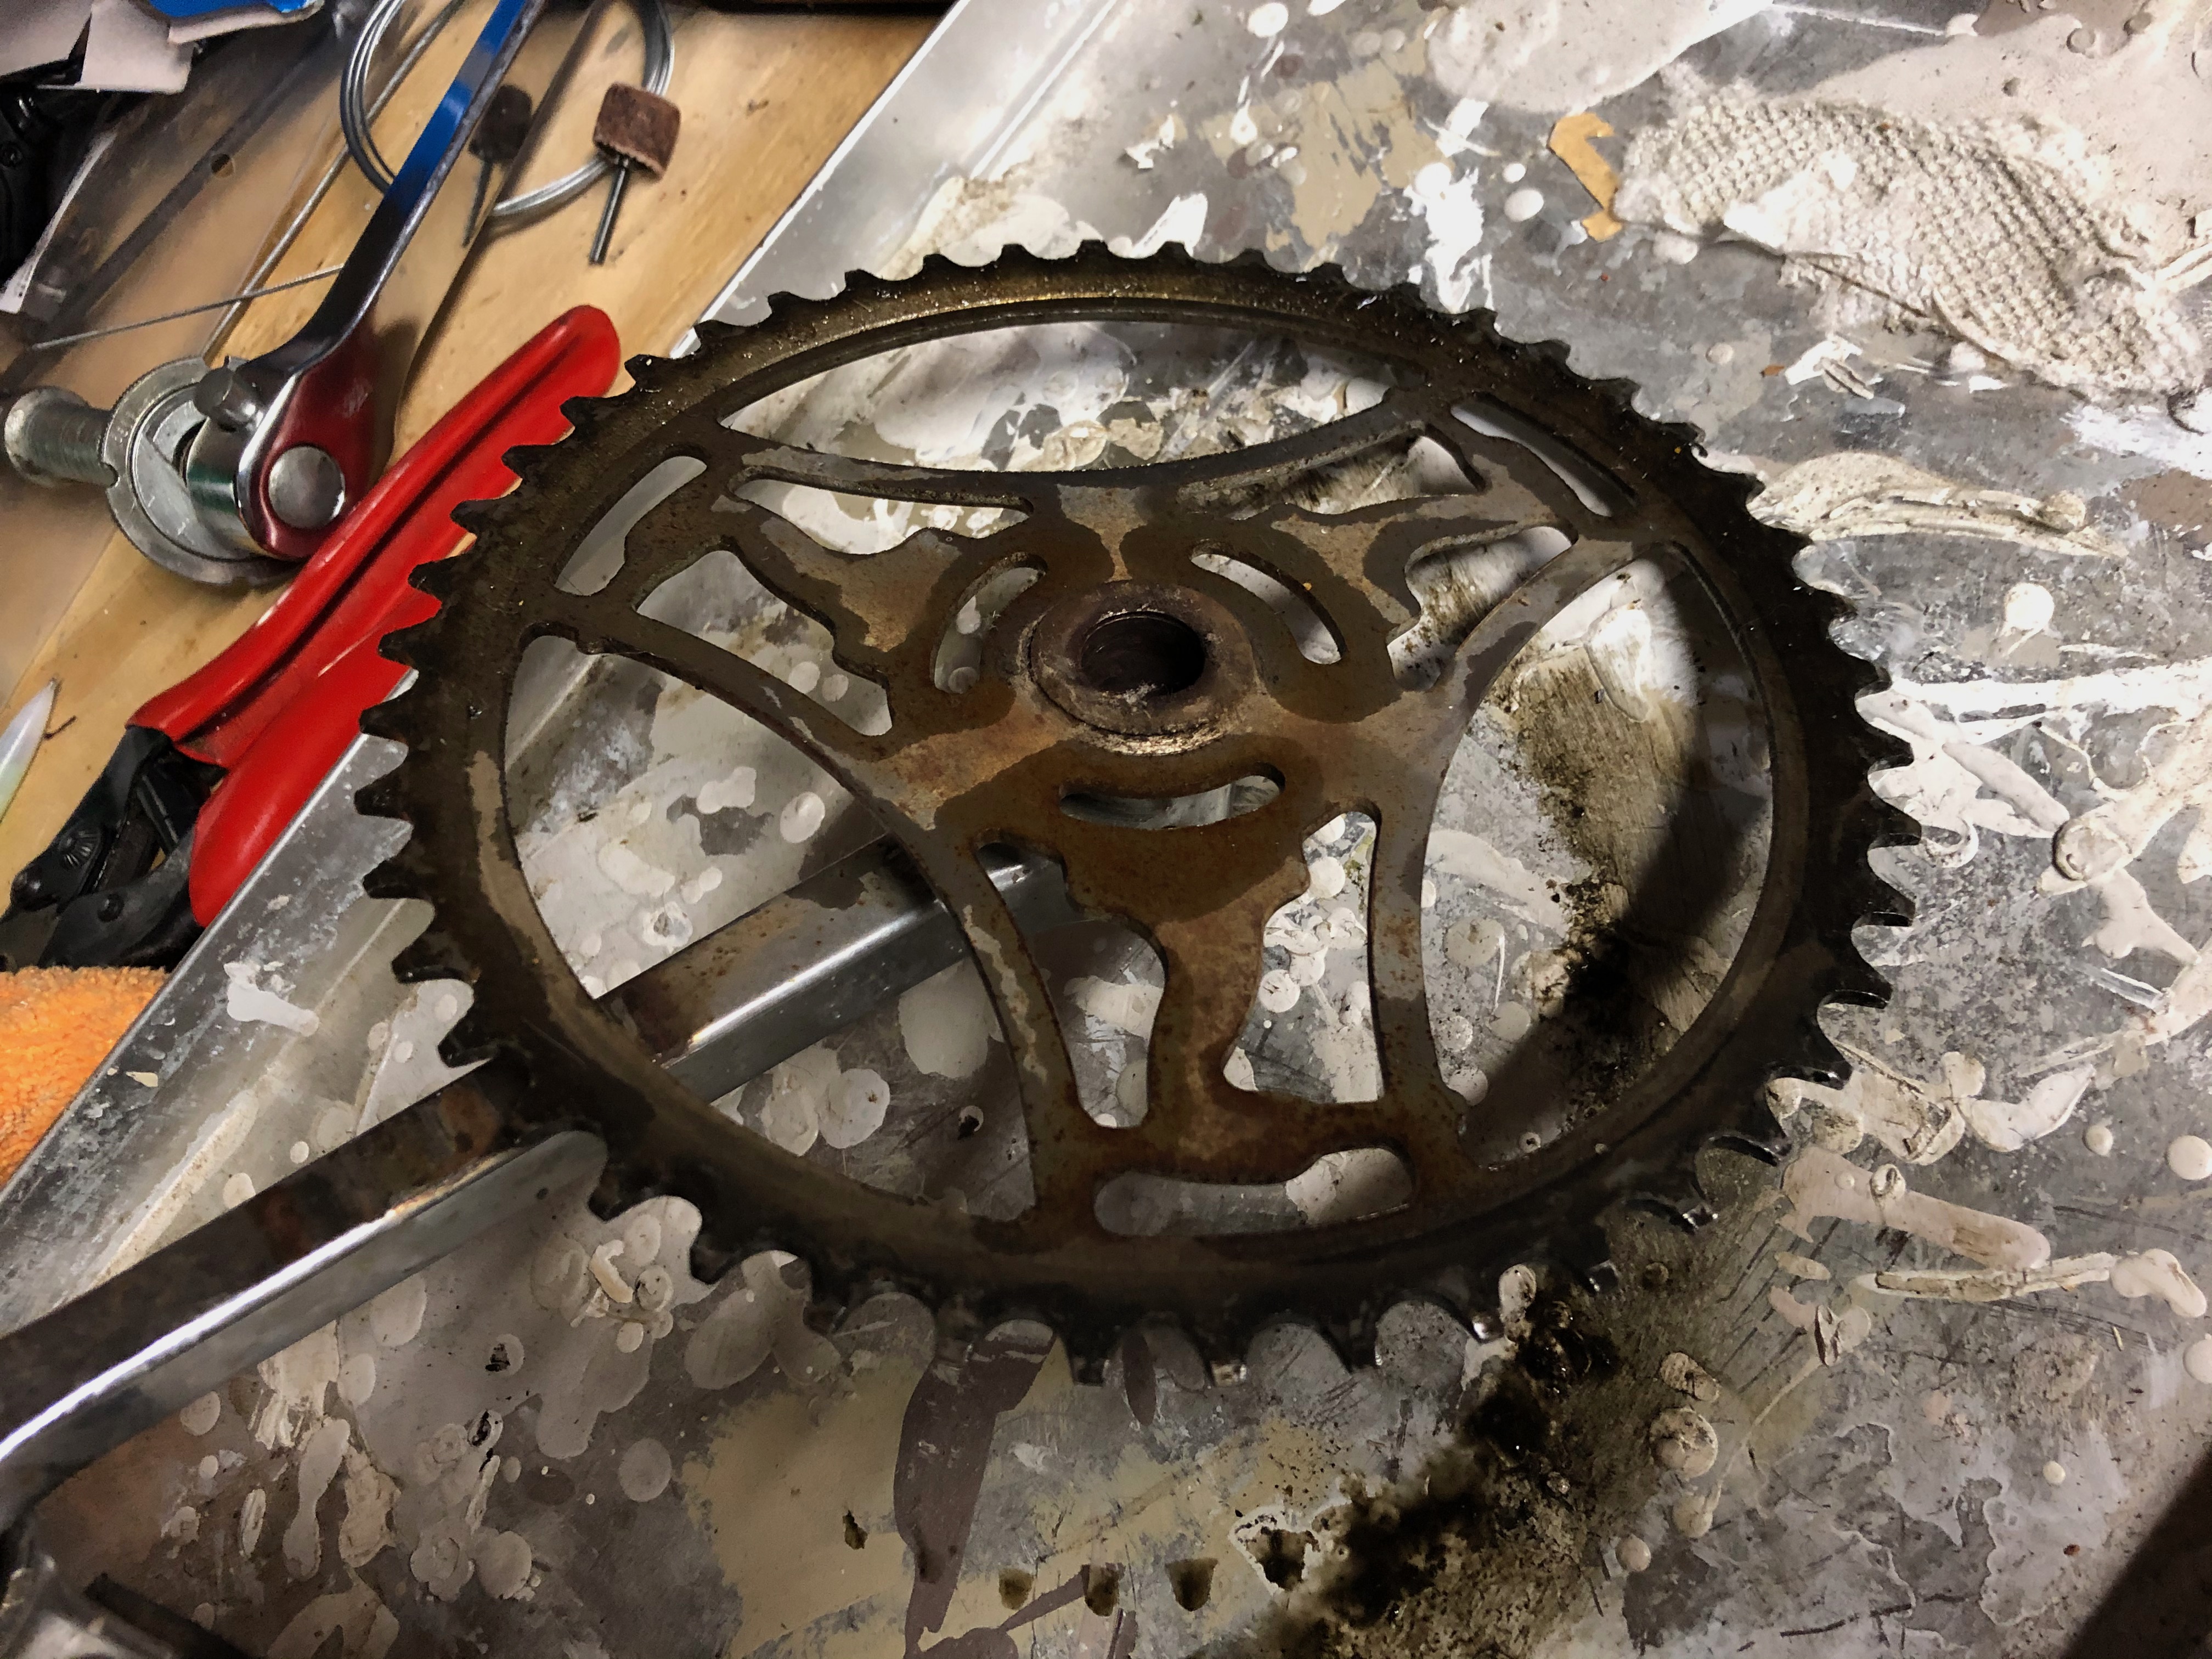
While I was rebuilding the three-speed hub I was also busy cleaning, cleaning, and cleaning some more. The Raleigh had clearly been left outside, unloved, for a long time. There was a thick layer of grime and tree sap that had sun-baked deep into the paint.
So cleaning it was a multistep process:
- Household multi-purpose cleaner and a blue non-scratch scrubbing pad to get the surface grime off.
- Turtle Wax Heavy Duty Rubbing Compound to try to cut the paint back to the original Lemon Yellow as much as possible. This was only somewhat successful.
- Turtle Wax polishing compound to bring some shine back to the paint.
In the end, the paint is still pretty chipped and scraped, but it's yellow again, and the patina does have appeal.
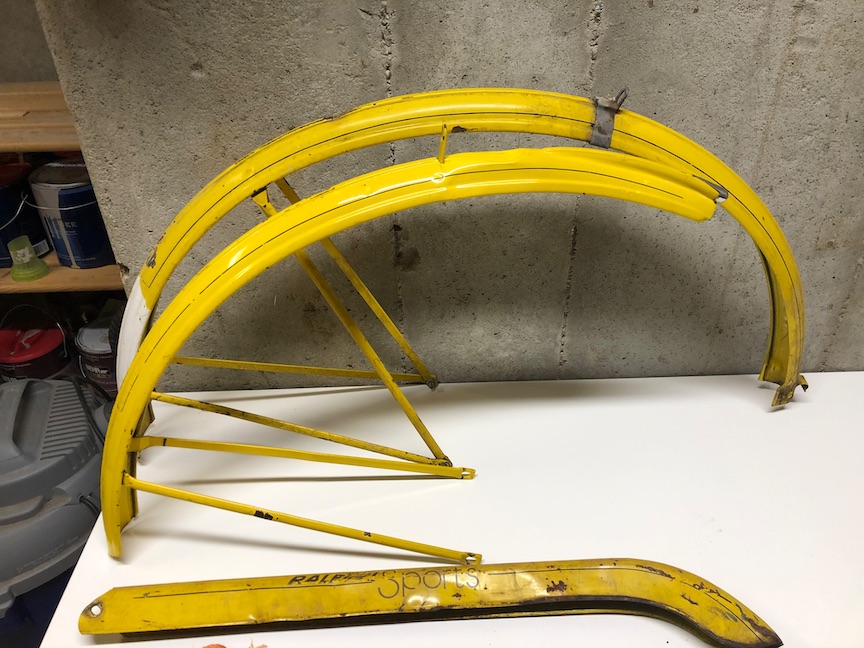
The fenders went through the same process, although they had an extra step of bending and hammering the metal back into some semblance of shape. I am not a metalworker by any means, but anyone with a little care can do some basic things to make the metal at least a bit more presentable. One of these days I'll get myself a proper set of metalworking hammers and dollies.
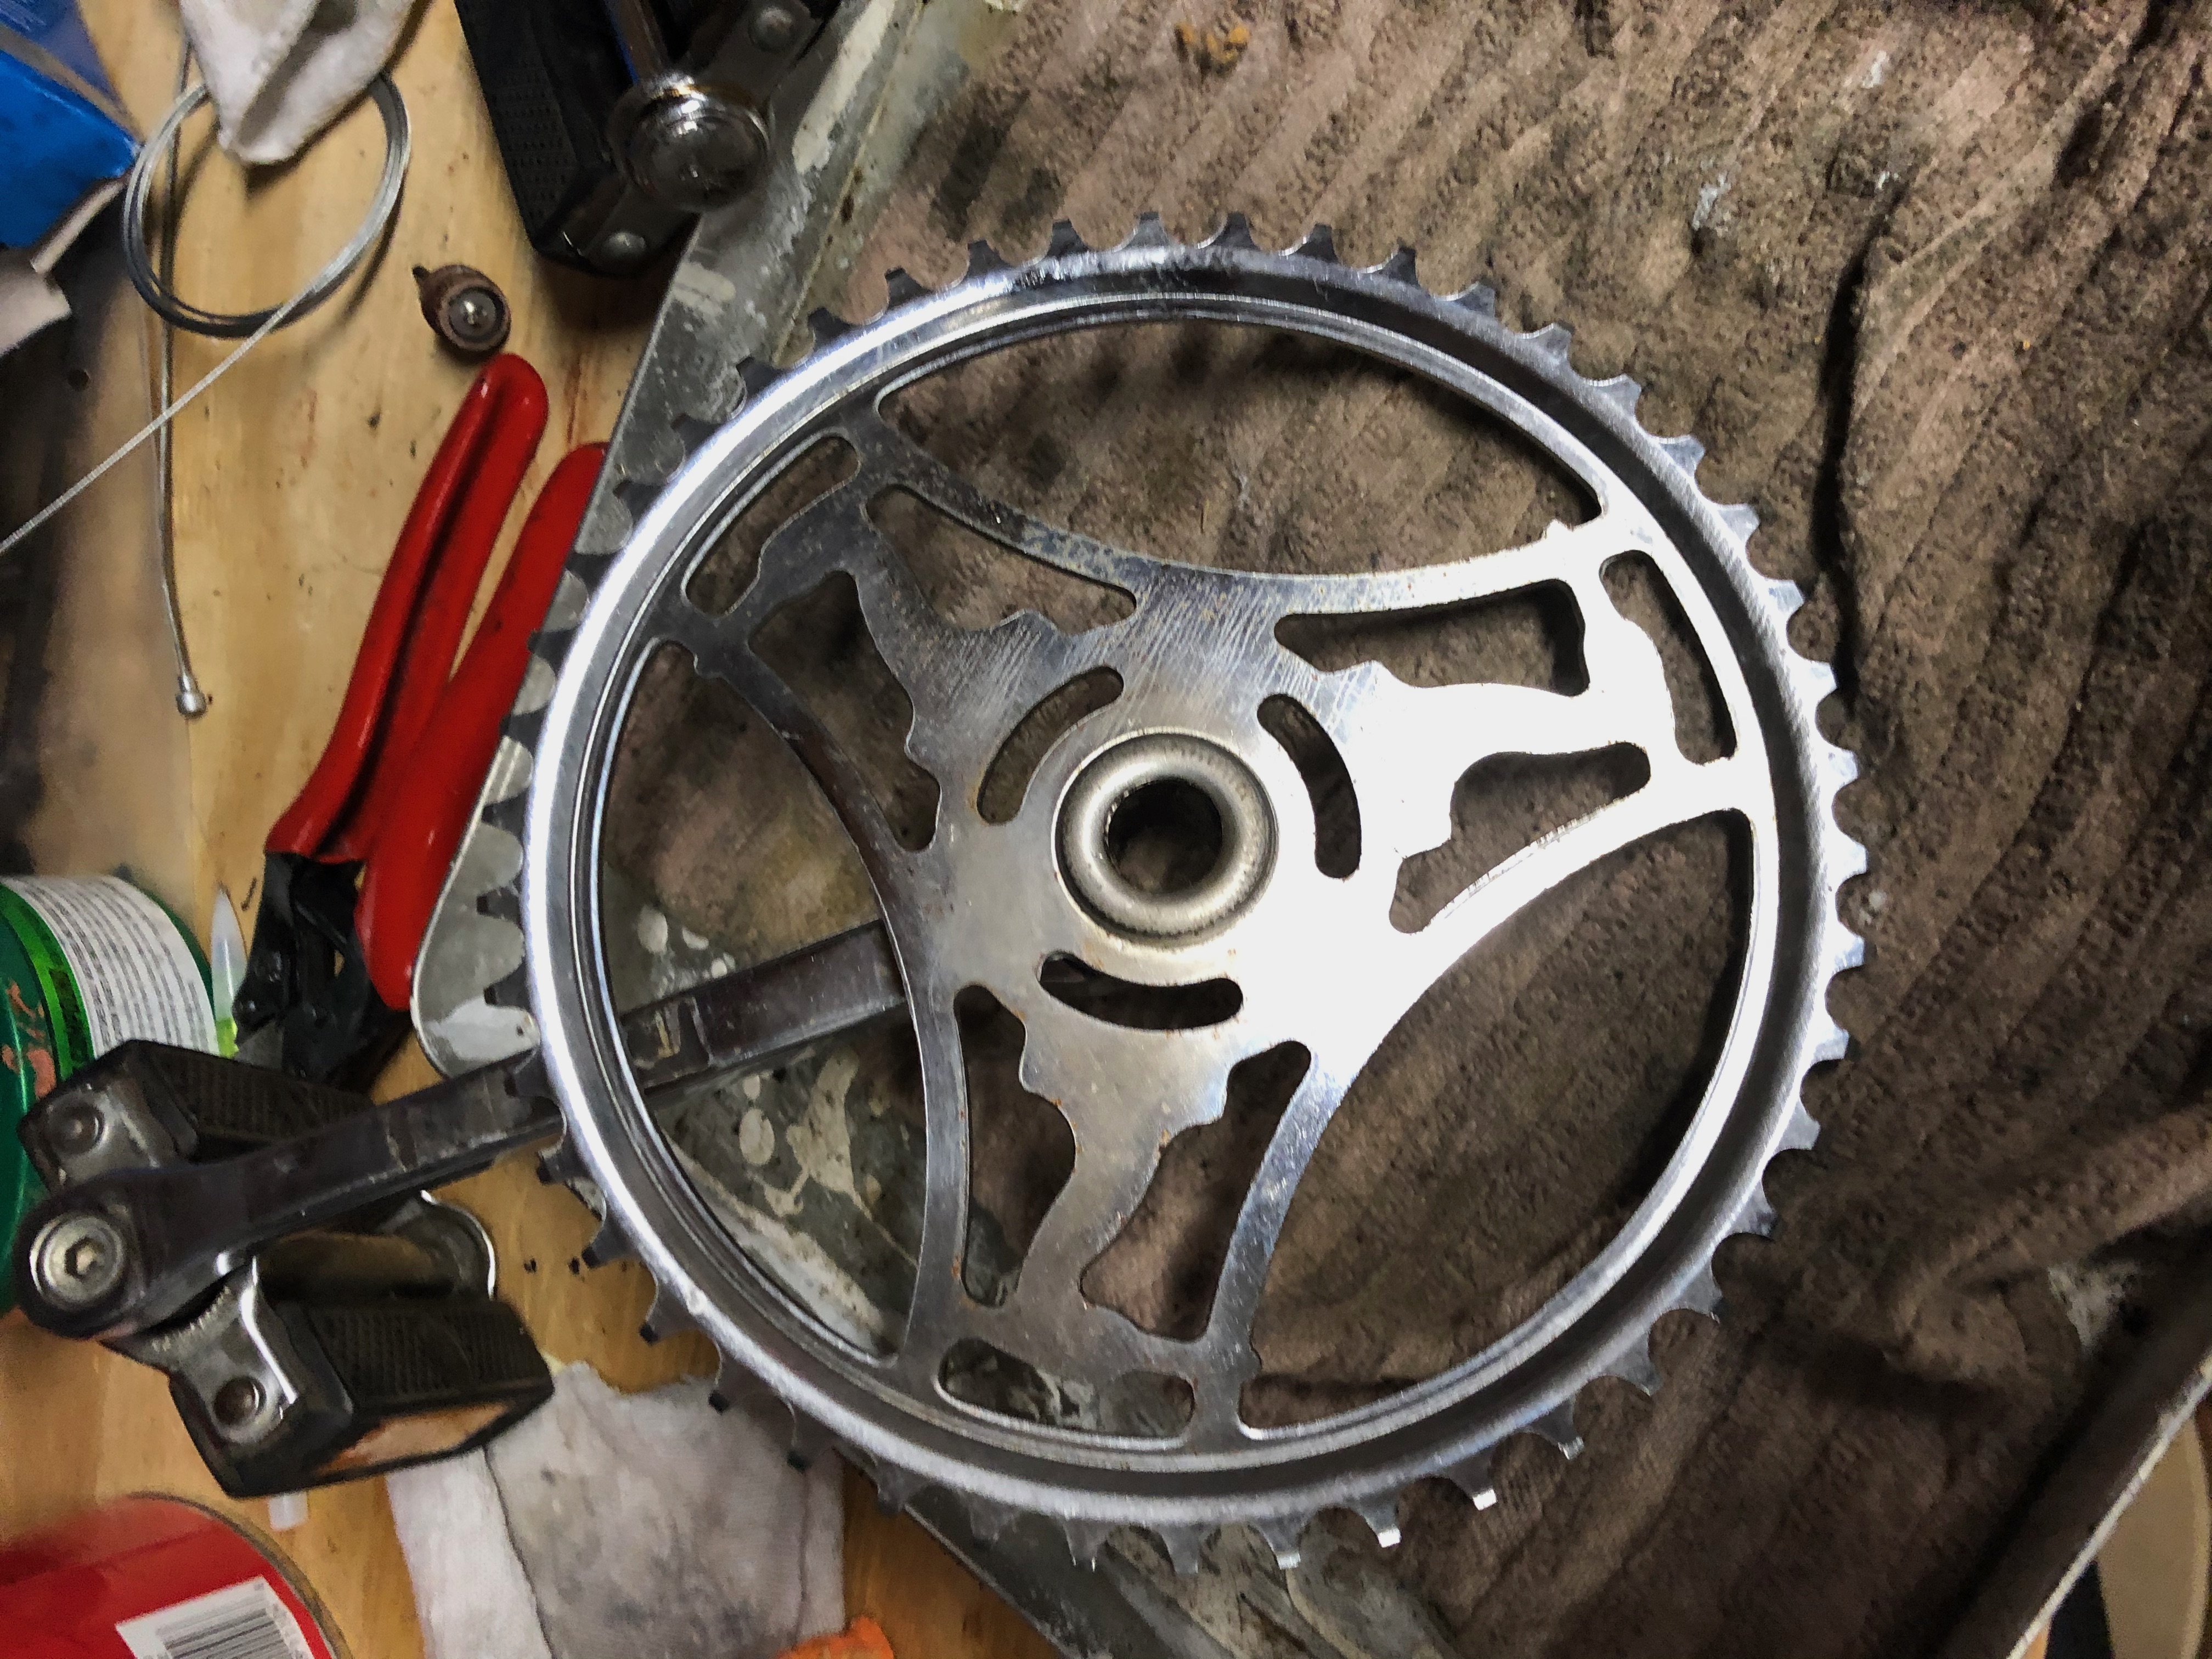
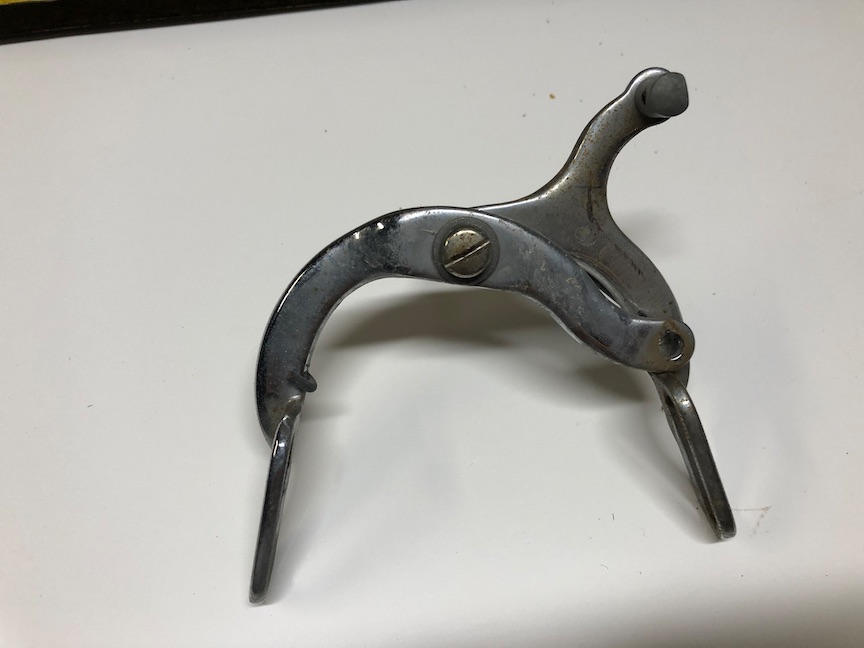
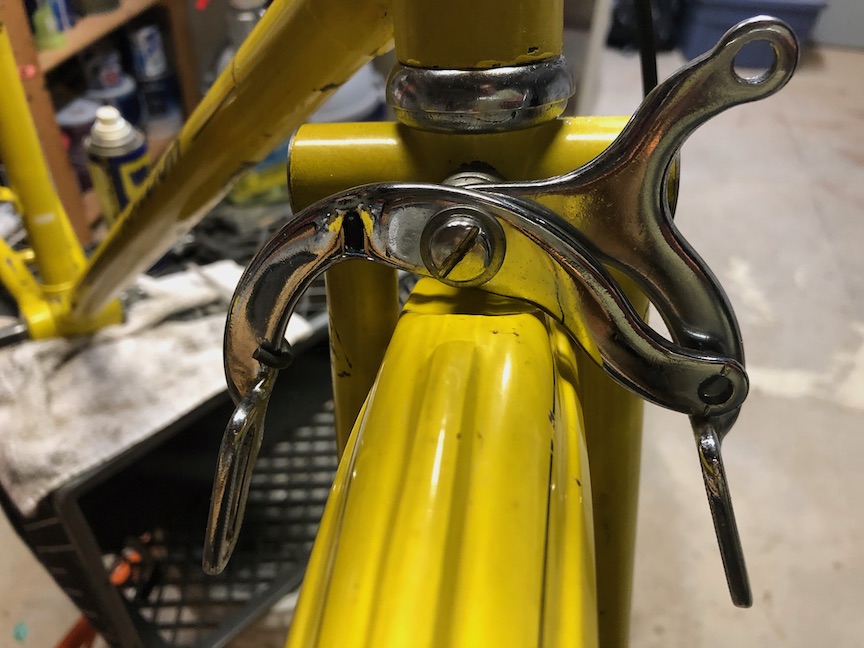
For the chrome parts, I sprayed a penetrating oil and scrubbed with fine steel wool. That's always worked well for me. Once the grime and surface rust was gone, Mother's metal polish brought back the shine.
The rear wheel #
The rear wheel was a special challenge, since it was missing a spoke. After measuring carefully I ordered heavy-duty spokes and a spoke wrench. Neither is anything fancy, but they were more than adequate for the task at hand.
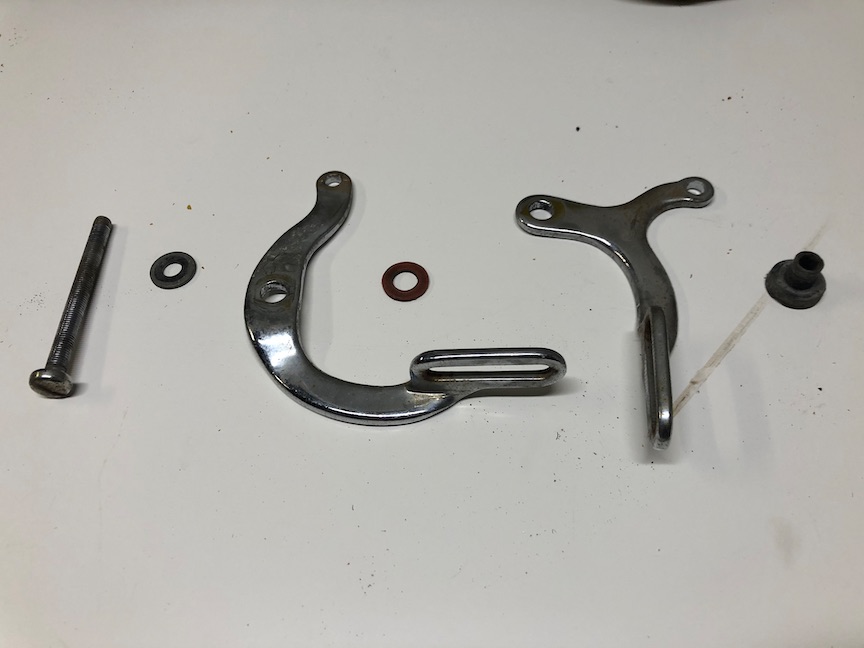
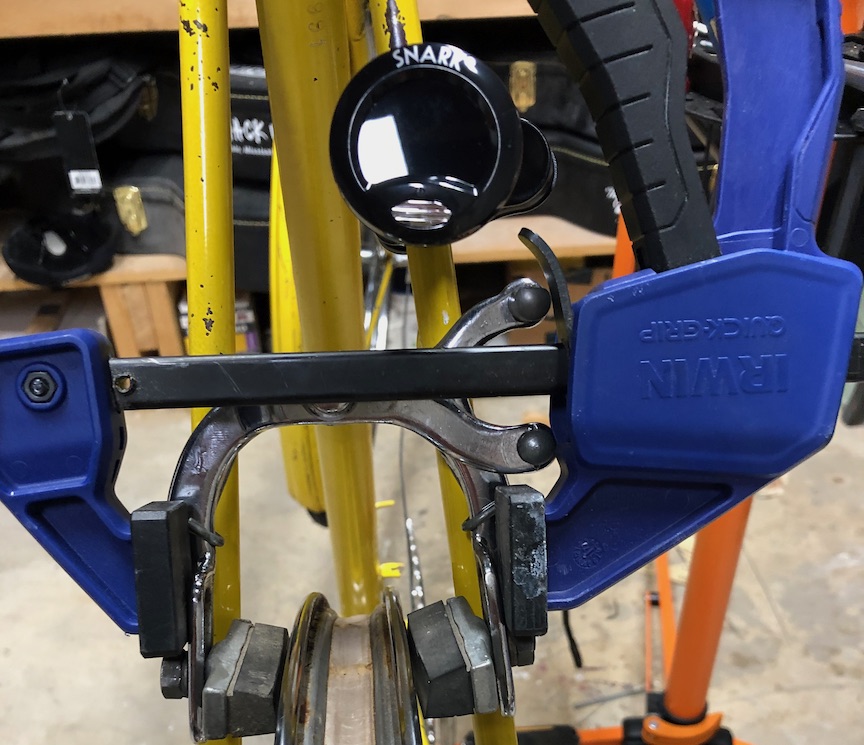
I knew most of the spokes were under-tensioned, but had to do some research on how to easily check the tension. I was pretty happy when I learned you can "tune" spokes to notes on the scale. With that knowledge in hand, I grabbed a Snark tuner and an Irwin Quick Grip,and went to town. The Snark was clipped it to the seatstay to easily see the note the spoke was ringing out, while the Quick Grip accurately held the newly polished brake calipers in position.
I can't claim the end results are pro-level, but I can't complain, either. The rim stays off the calipers and is pretty darn close to straight. Not bad for a first timer. It doesn't hurt that those heavy steel Raleigh wheels are pretty forgiving.
With the wheel straightened out, the rest of the rebuild was largely replacing the wear-item parts on it, including a new KMC single-speed chain, some faux-leather grips, new yellow brake and shifter cables and inexpensive brake pads.
I also had to buy new cotter pins to replace the ones I destroyed in the removal process.
And with that, it was done.
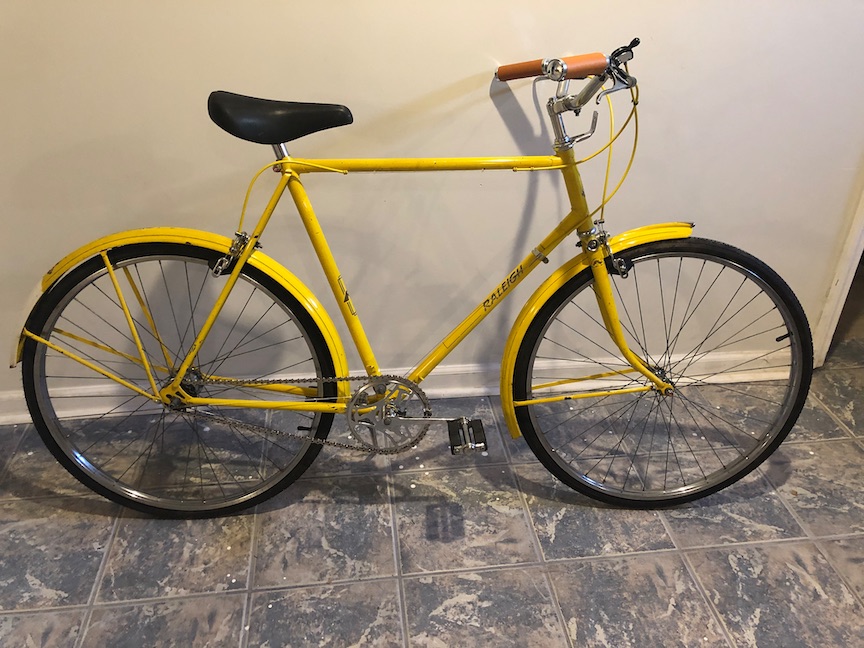
Truth be told, the frame is way too big for me and I'll probably end up selling it, letting it go to a new home and fund the next project. But for now, I'm enjoying it as it is. I call it "Lemon".
Note: This post may contain affiliate links and we may receive a small commission for purchases made through these links. This does not cost you anything, nor does it affect our opinion of the products.
See all the Raleigh Sports posts.
Tags: raleigh- Next on Re-Cycled: Yet another Bianchi
- Previously on Re-Cycled: Sturmey-Archer three-speed rebuild