Nishiki Sport teardown
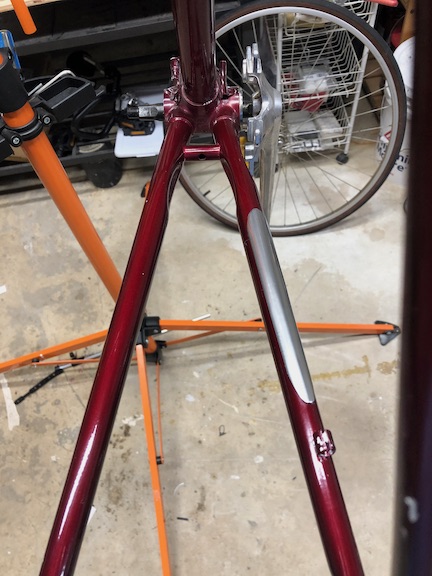
It didn't take long at all to tear down the Nishiki. Other than a lot of corrosion from years sitting in a humid garage, it was in pretty good shape.
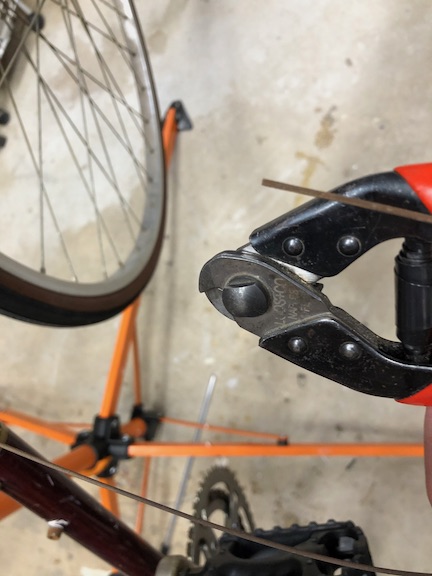
I started -- as I usually do -- by clipping the cables. On the Nishiki, they were all badly rusted and unsafe to re-use. A good set of cable-cutters is an absolute must-have for anyone working on a bike. You simply can't cut bike and shifter cables properly without them. Perfectly good cutters are available for less than $15. Don't mess around, just get a set. You'll be glad you did.
While you're at it, pick up an awl, if you don't have one already. You'll want to use it to ensure the cable housing you just cut is opened nicely for the cable, and they're handy for all sorts of other pointy-tool things, too.
With the cables snipped it easy to start removing the cable housing, which in turn makes it pretty easy to start removing other things.
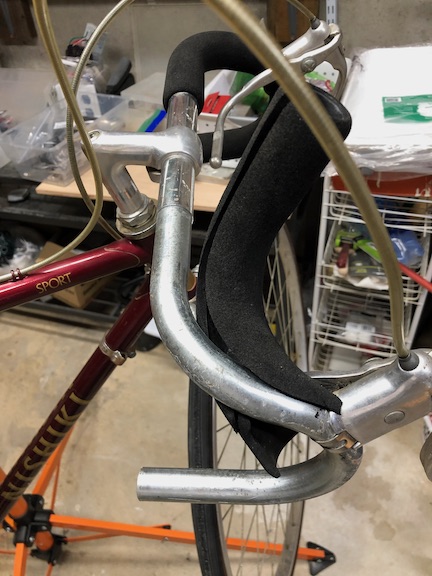
Here, I've already removed the shifter cable housing as well as the stem-mounted shifters. They'll go in the parts bin and hopefully find some use someday.
A razor knife made short work of the original foam grip. Don't do this with aluminum handlebars -- it's way too easy to cut into them. In my case, I wasn't too worried about cutting the steel SR handlebars. Even if I had nicked them I didn't plan on keeping them, either.
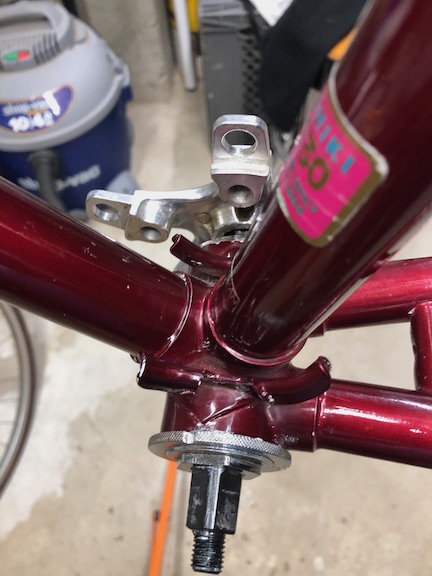
If you hadn't noticed it from our last installment this shot also gives another look at the baffling brake cable routing.
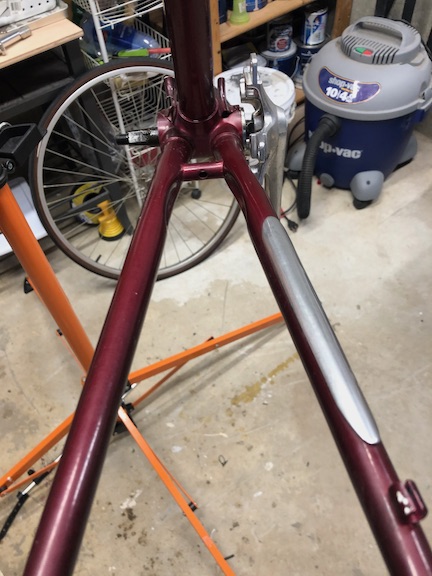
 And so it goes... With the grips off, the brake levers can come off. With the brake levers off, the bars can come off. Then the stem, the brakes, and the rest.
Just keep unbolting, pay careful attention to the order of things, and keep track of all the nuts and bolts. It's not complicated, but it does pay to be methodical.
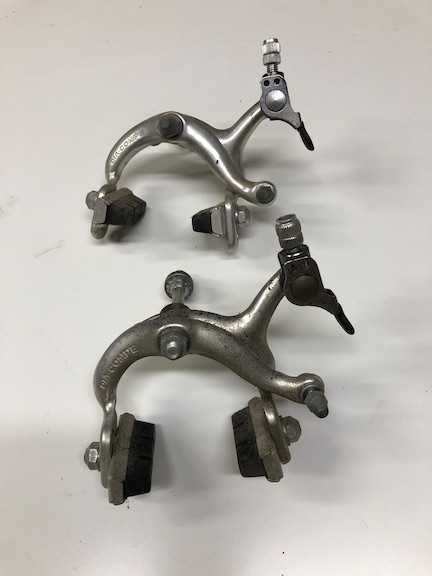
Whenever possible, I try to keep subassemblies together. For example, brakes have tons of washers and spacers that need to be in the right order and are easy to lose. So I try to keep the brakes fully assembled as much as possible and then, after polishing, don't dawdle about reassembling them. If I can't keep them together, then I throw the whole sub-assembly in a Ziploc bag (and be sure to label it).
Coming up next... the rebuild!
Note: This post may contain affiliate links and we may receive a small commission for purchases made through these links. This does not cost you anything, nor does it affect our opinion of the products.
See all the Nishiki Sport posts.
Tags: nishiki- Next on Re-Cycled: Nishiki Sport rebuild
- Previously on Re-Cycled: The Nishiki Sport